
Getting started
From an empty baseboard to a printed plan in eight steps. Allow about fifteen minutes for your first layout.
Install Gauge Buddy
Gauge Buddy is coming soon to the Mac App Store. You will need a Mac running macOS 15 or later. There is no account to create and nothing else to install: the track libraries are built in.
Create a layout
Choose File → New. Three choices shape what follows, and all of them can be changed later in the inspector:
- Scale and gauge. The catalogue shows the track libraries available for that scale, and scenery is sized to match.
- Default minimum radius. Curves tighter than this are flagged, both in the catalogue and on the board.
- Baseboard. Pick a size or enter your own. You can add more boards, odd shapes and cutouts afterwards from Layout → Baseboards.
You can also choose the units measurements are shown in. Geometry is always stored in millimetres; this only changes what you see and type.
Place your first track
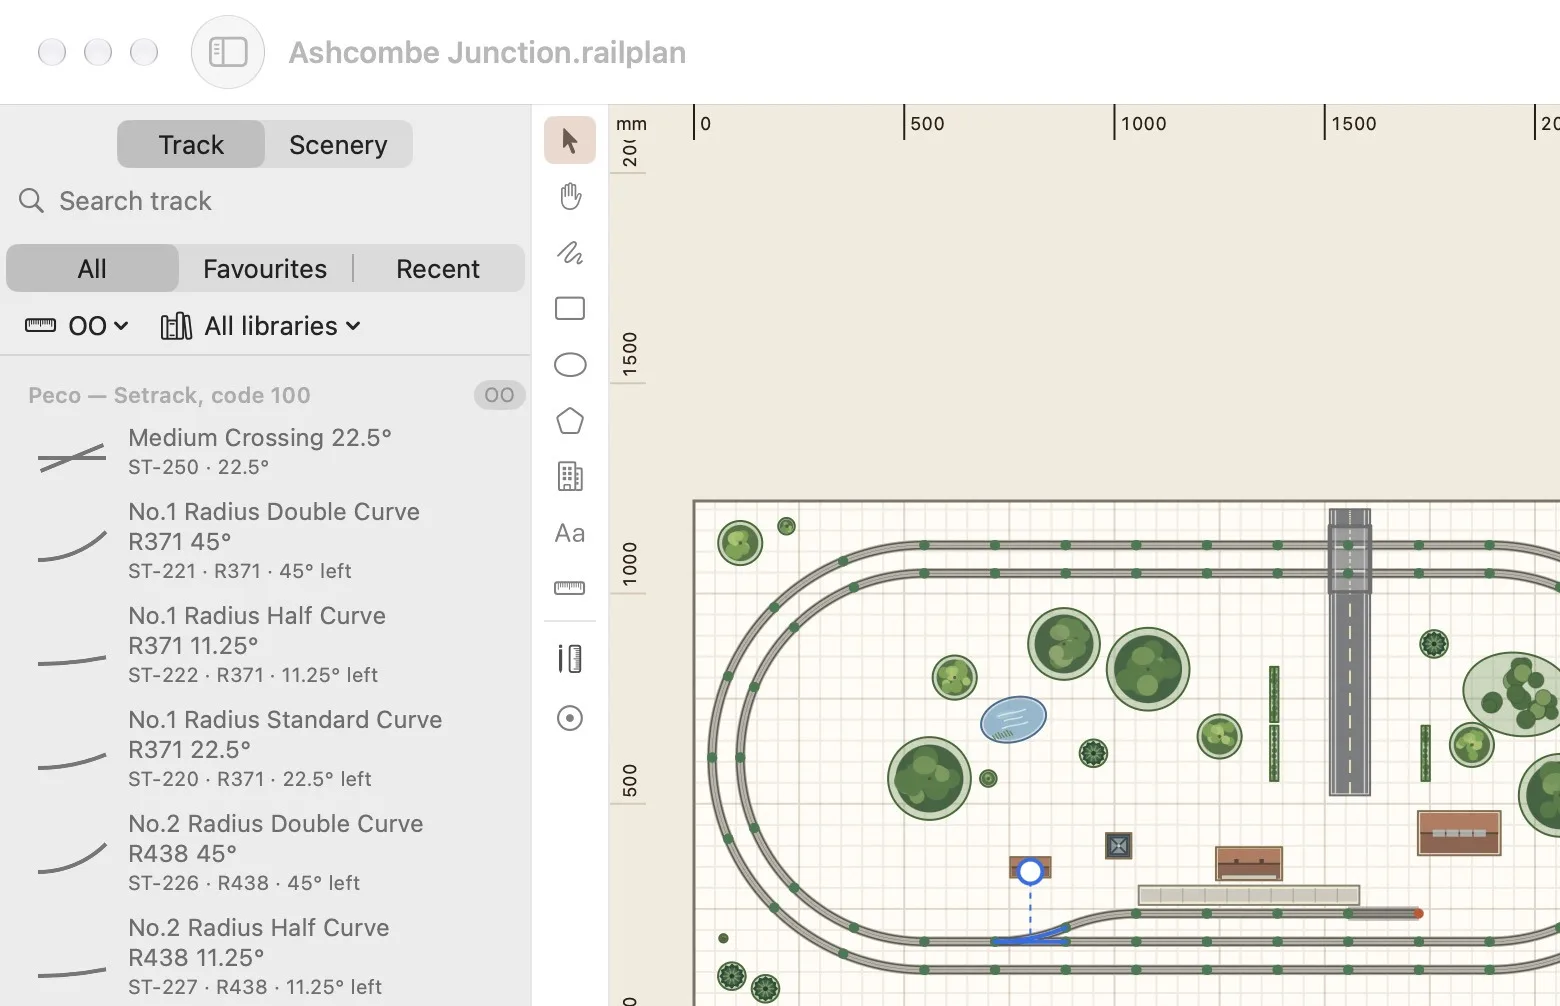
The drawer on the left is the catalogue. With Track selected at the top, click a piece, then click the board to place it. Press Esc to stop placing.
Hold ⌥ as you click to keep the same piece armed, which is the quick way to lay a run of straights. Use [ and ] to rotate and M to mirror.
Join pieces together
Bring a piece near a free connector and the editor offers the joint. Accept it and the two connectors meet exactly. Sixteen 22.5° curves laid this way close into a true circle.
If the app declines a joint, it tells you why: usually the piece needs turning round, or the two gauges do not match. Hold ⌘ while dragging to ignore snapping altogether.
Add flexible track
Choose a flexible product in the catalogue, then drag on the board to lay a run. Drag the handle in the middle to curve it. The inspector shows the length and the tightest radius as you go.
For anything more exact, such as a parallel track or a smooth curve between two fixed ends, select the run and open Layout → Flex Construction.
Add scenery
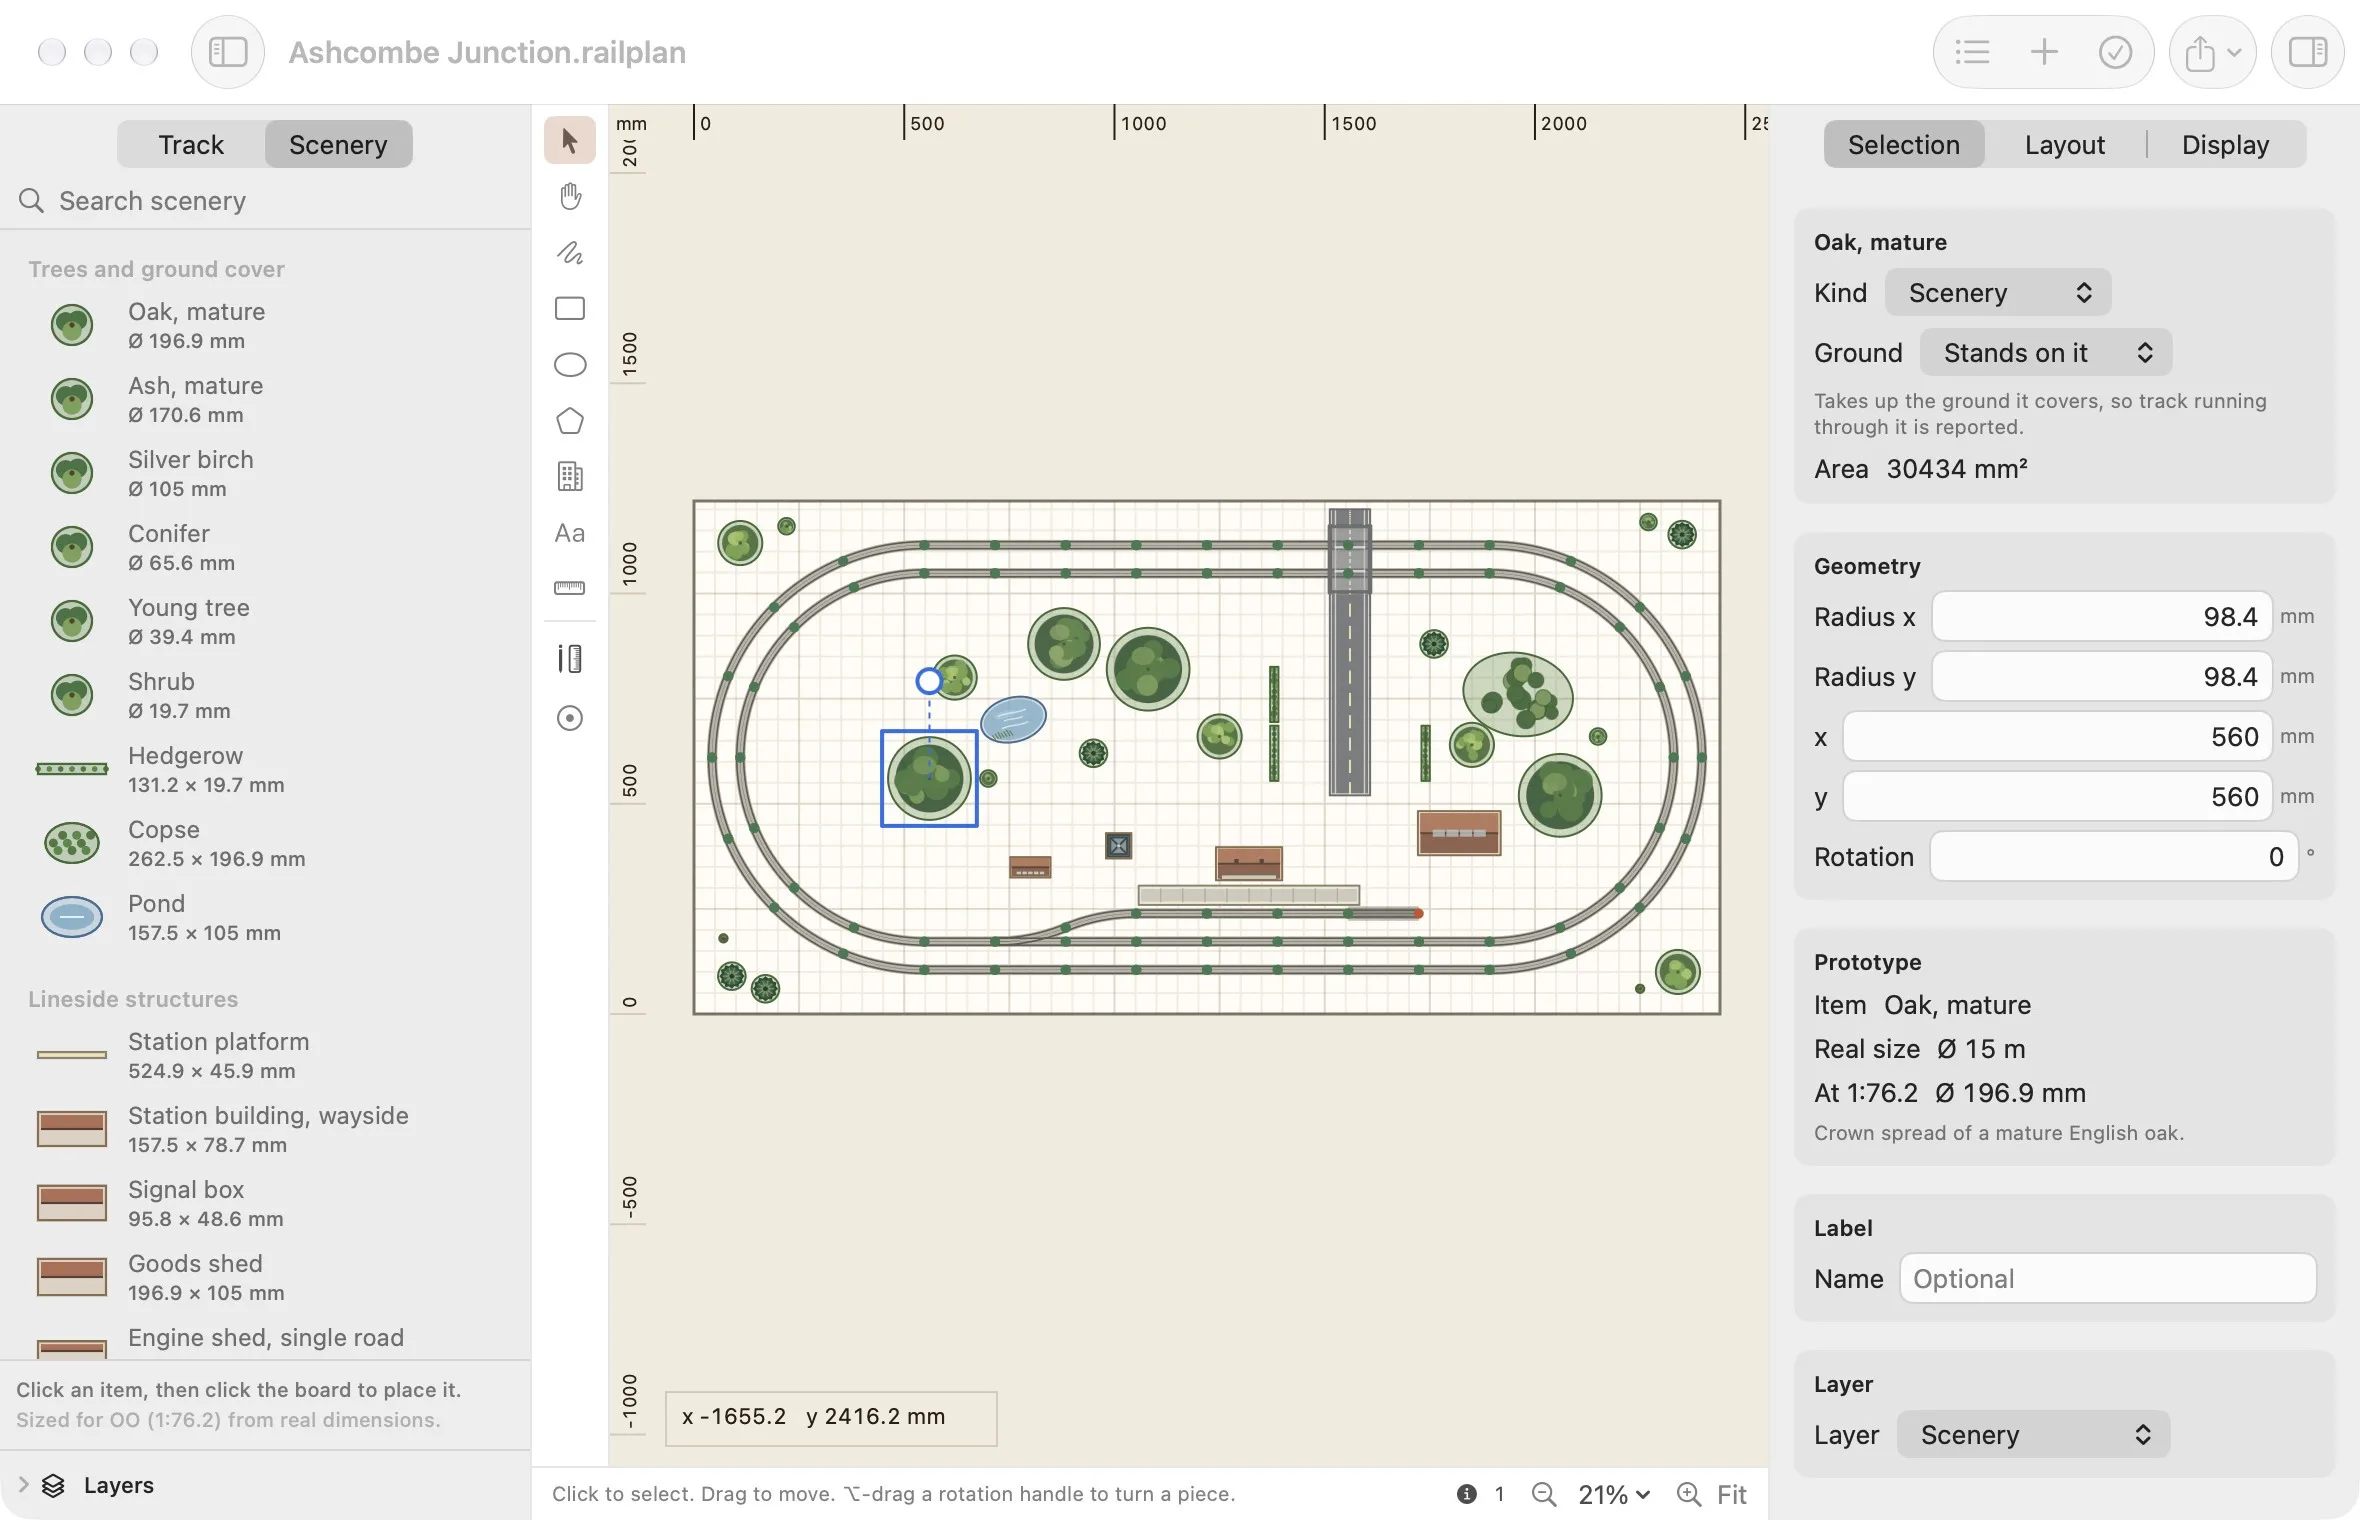
Switch the catalogue to Scenery. Pick a tree, building, platform or road and click to place it at the right size for your scale. The tools beside the canvas draw your own rectangles, ellipses, polygons, building footprints and labels.
Check for issues
Open the issues list with ⌥⌘V. Errors and warnings are worth fixing; notes, such as the open end of a siding, are there so nothing surprises you. Select an issue to find the object it refers to.
Print or export
Press ⌘P for a preview. Full size tiles the plan at 1:1 across numbered pages so you can lay it on the board; Fit to one page gives an overview.
Print at 100% with any fit-to-page option switched off, then measure the 100 mm calibration bar before you cut anything. File → Export offers PDF, SVG, PNG and a CSV parts list.
Keyboard shortcuts
The ones worth learning first. The full list is in the documentation.
| Keys | What it does |
|---|---|
| 1 – 9 | Choose a tool. Rest the pointer on one to see what it does. |
| [] | Rotate by 22.5°. Hold Shift for 1°. |
| M | Mirror. Turnouts swap to the opposite-handed product. |
| ⌥click | Place a piece and keep it armed for the next one. |
| ⌘drag | Ignore snapping for this drag. |
| Spacedrag | Pan, whatever tool is active. |
| ⇥ | Step the selection through objects on the board. Shift reverses. |
| ←↑↓→ | Nudge by one grid step. Hold Shift for 1 mm. |
| ⌘0 | Zoom to fit the layout. |
| ⇧⌘0 | Zoom to fit the selection. |
| ⌘G | Group the selected objects. |
| ⇧⌘P | Place track precisely, by coordinates or by connector. |
| ⇧⌘O | Search the objects in this layout. |
| ⌥⌘L | Show or hide the library. |
| ⌥⌘I | Show or hide the inspector. |
| ⌥⌘V | Show or hide the issues list. |
| ⌘P | Print, or preview a PDF plan. |
| Return | Finish a polygon. |
| Esc | Cancel the current tool or placement. |
Stuck on something? The support page answers the common questions.
Start planning tonight.
One Mac app. No account, no cloud, nothing to set up.
Requires macOS 15 or later.